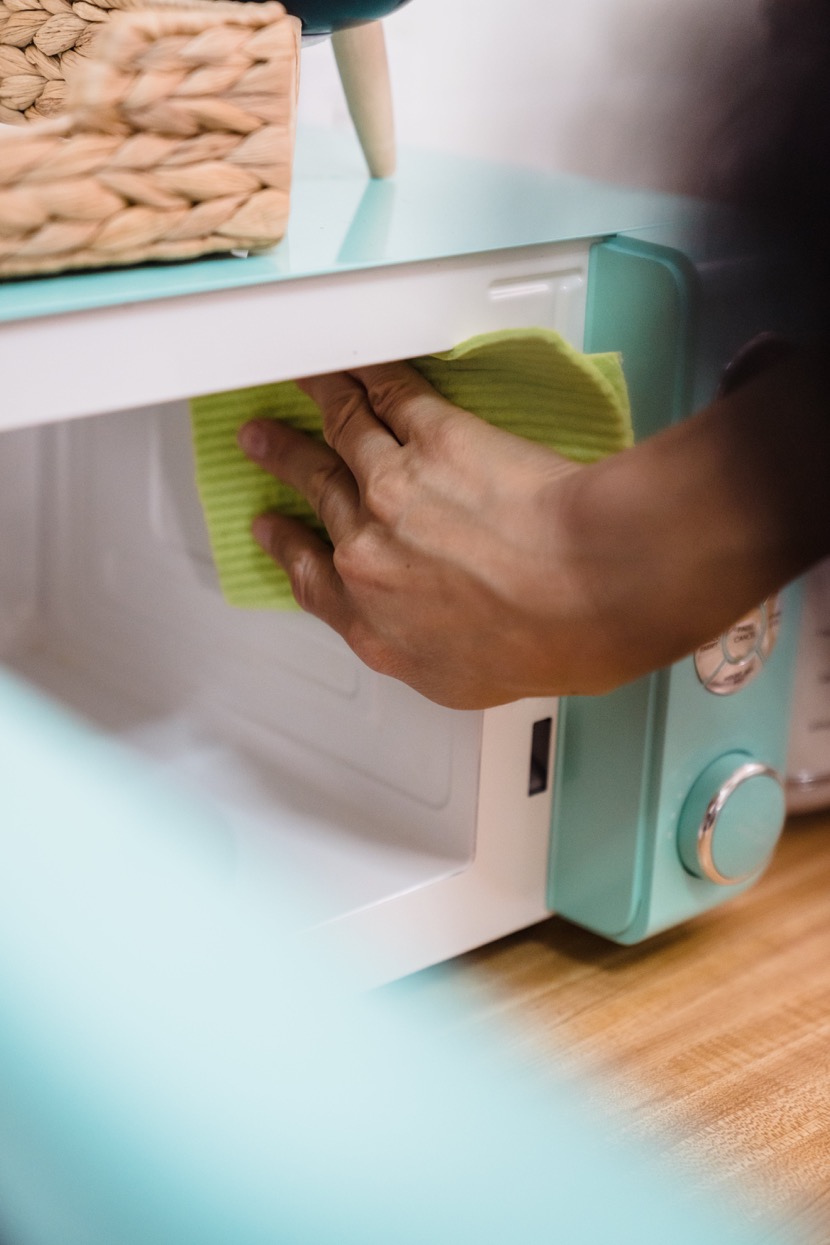
Each part of your microwave needs a little special attention.
The microwave tends to accumulate a lot of grime, often overlooked as we simply close the door after use, concealing the grease, splatter, and crumbs inside. Although it may be out of sight, it’s not out of the woods. Accumulated dirt can attract pests and create unpleasant odors, affecting both the microwave and your food. It’s high time for a thorough cleaning, addressing each part individually.

Step one: Steam your microwave
To begin, initiate a steaming process in your microwave. The accumulated splatter inside can be stubborn, but steam proves effective in loosening it up. Utilizing the power of steam and citric acid is a straightforward and efficient cleaning method. Online and on platforms like “CleanTok,” recommendations vary from using half a cup to a full cup of water, half a lemon to a whole one, and setting the time between three to five minutes, with an additional five or 15 minutes for steaming. To simplify, here’s my approach:
1. Slice a lemon into quarters and place two of them in a microwave-safe bowl along with one cup of water.
2. Microwave on high for three minutes, ensuring you check for steam towards the end of the cycle.
3. If no steam is visible, extend the time by another minute (you can tell it’s working if you see steam on the cupboard above the microwave).
4. Allow it to sit with the door closed for five minutes.
Upon opening the microwave, you’ll observe that what was previously crusted onto the walls and ceiling has now become soggy and remarkably easy to wipe away with a sponge. Additionally, it leaves behind a pleasant lemony scent. It’s worth noting that I’ve observed the crust and splatter near the top are easier to remove than those at the bottom, as steam tends to travel upward. If your turntable is removable, take it out and soak it in warm water, then scrub it with a sponge.
Step two: Clean the exterior of the microwave
The method you use to clean the outer surface of your microwave depends on the type of residue present. For greasy spots, employ a solution of one part vinegar and one part water for a gentle scrub. If there’s splatter without grease, consider using a mixture of one part rubbing alcohol and one part water. For more stubborn messes, a damp sponge with baking soda can be effective, but remember to follow it up with plain water.
I approach this step in several stages. Initially, I utilize the mixture of rubbing alcohol and water to eliminate any straightforward stains or residue, then reassess to identify if anything persistent remains. Employing a soft cloth, I gently buff some baking soda over the remaining spots (which can be streaky and messy!), and afterward, I use plain water to wipe it away. If any streaks persist, I resort to my vinegar and water mixture, a highly effective combo for eliminating streaks.

Achieving a sparkling clean interior and exterior for your microwave doesn’t require specialty products; everything you need is likely already in your household. All you need is – start cleaning it 🙂
