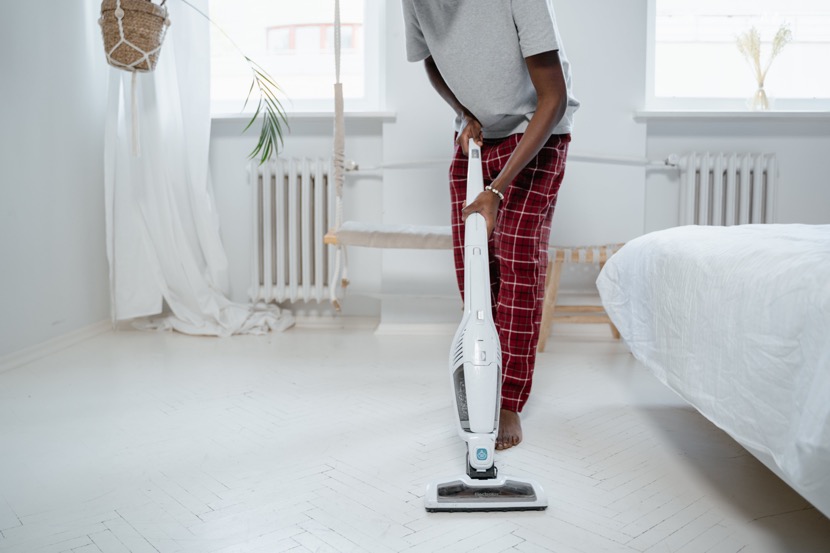
Get the most out of your vacuum with some basic maintenance.
It’s often overlooked that cleaning appliances designed for labor-saving, such as dishwashers, washers, dryers, and vacuums, also require regular cleaning and maintenance. Vacuum cleaners, for instance, used to be, and in some instances still are, significant household investments. However, with advancements in materials and manufacturing over the years, repairing a vacuum (not covered by warranty) or replacing a part frequently equals, if not surpasses, the cost of purchasing a new one.
Fortunately, there are measures you can implement to protect your vacuum from premature failure. Whether you’ve chosen a top-tier model or are aiming to postpone replacing your trusty unit that has served you for years, here are some strategies to prolong the lifespan of your vacuum.

How to extend the life of your vacuum
During my upbringing in the 1980s and 1990s, our family used a 1937 Kirby upright vacuum cleaner (similar to the one pictured here). Eventually relegated to the basement when my parents opted for something lighter and more maneuverable, the Kirby, remarkably, still functions. While one might argue the case of “they don’t make ’em like they used to,” it’s challenging to determine if it would have endured to this day without decades of meticulous maintenance and proper usage.
Don’t treat it like a shop vacuum
Unless your home vacuum is specifically designed as a shop vac, it’s not meant for such usage. In simpler terms, be mindful of what you’re vacuuming. Avoid using it to clear fireplace ashes, sawdust, drywall dust, or any wet or soggy messes. Also, refrain from running over coins or other sizable objects, hoping for the best. Prioritize clearing the area of such debris before vacuuming.
Do your hair in the bathroom
While shedding some hair naturally throughout the day is understandable, actively brushing, combing, or blow-drying your hair is a different matter. Aim to limit these activities, along with any others that may lead to shedding, to the bathroom or another non-carpeted space of your preference. Use a broom or cloth instead of the vacuum to sweep up the hair, significantly reducing the likelihood of it getting entangled in the roller brush of your vacuum.

Don’t put off emptying the canister or changing the bag
Emptying a canister or changing a bag in your vacuum when it’s overflowing can lead to a mess. To prevent this, make a habit of regularly emptying the canister and changing the bag as soon as you observe it filling up, rather than delaying until it becomes a problem.
Deep clean your entire vacuum
Think about performing a thorough cleaning of your vacuum once or twice annually. Refer to your vacuum’s owner’s manual to understand how to disassemble and clean it. Numerous contemporary canister vacuums comprise several components that can, and should, be washed with soap and water, or at least wiped down.
Clear the filters
The built-in filter is generally transparent, but if it appears dirty, I either wipe it with a microfiber cloth or employ an old toothbrush to dislodge any stubborn debris. In contrast, the removable filter tends to accumulate dust rapidly. To address this, I give it a few taps on the side of the garbage can, use the toothbrush if needed, and consistently wash it with soap and water.
Clean the roller brush regularly
Finally, don’t delay cleaning your roller brush until it stops spinning. Develop the routine of clearing any hair, floss, or string from the brush every time you empty your vacuum’s canister or change the bag.
Check on previous post Everyday Items That Are Best Cleaned Without Soap.